


We’ve introduced new pages in the Nextmv console that display the run history and run details for your decision apps published to Nextmv Cloud. These new views allow you to easily compare solution details, run metadata, and vehicle routes on the map. Gain more visibility during the development process to understand how apps are performing and collaborate across teams from operations researchers and developers to operators to improve KPIs.
Answer questions that lead to better optimization models
Comparing historical runs provides insight into how changes to the model impact returned solutions and the metrics that matter most to your business. With Nextmv you can start by configuring out-of-the-box constraints and then customize your model completely.
Here are a few examples of how you can make updates to your model to answer business questions:
Solver options
- What happens if I increase the run time? Do I continue to see improving solutions?
- What happens if I update expansion limits? Do I see improving solutions faster?
Value function
- What happens if I update my value function to optimize for balancing stops across vehicles? Will I be utilizing my fleet more effectively?
- What happens if I minimize distance instead of time? Does my solution value get better or worse?
Constraints
- What happens when I use vehicles with larger capacities? Will that shorten time on road?
- What happens if I change driver break locations? Will it make their routes longer?
Compare historical runs: A sourcing example
Imagine that we’re a dev team for a landscaping company that sources mulch from a number of locations in the area. Recently, we’ve been tasked with creating a new model to limit the total distance any single vehicle can travel per route while ensuring that all stops are assigned. Let’s use Nextmv to easily analyze and visualize changes we’re making to our model.
We got a head start and followed the steps to create an app on Nextmv Cloud for our use case, creatively named, “Sourcing App.” To represent the new constraint being requested, we added ‘max-distance’. Then we ran our app twice – once using the original input file and another time using the new input file with max distance.
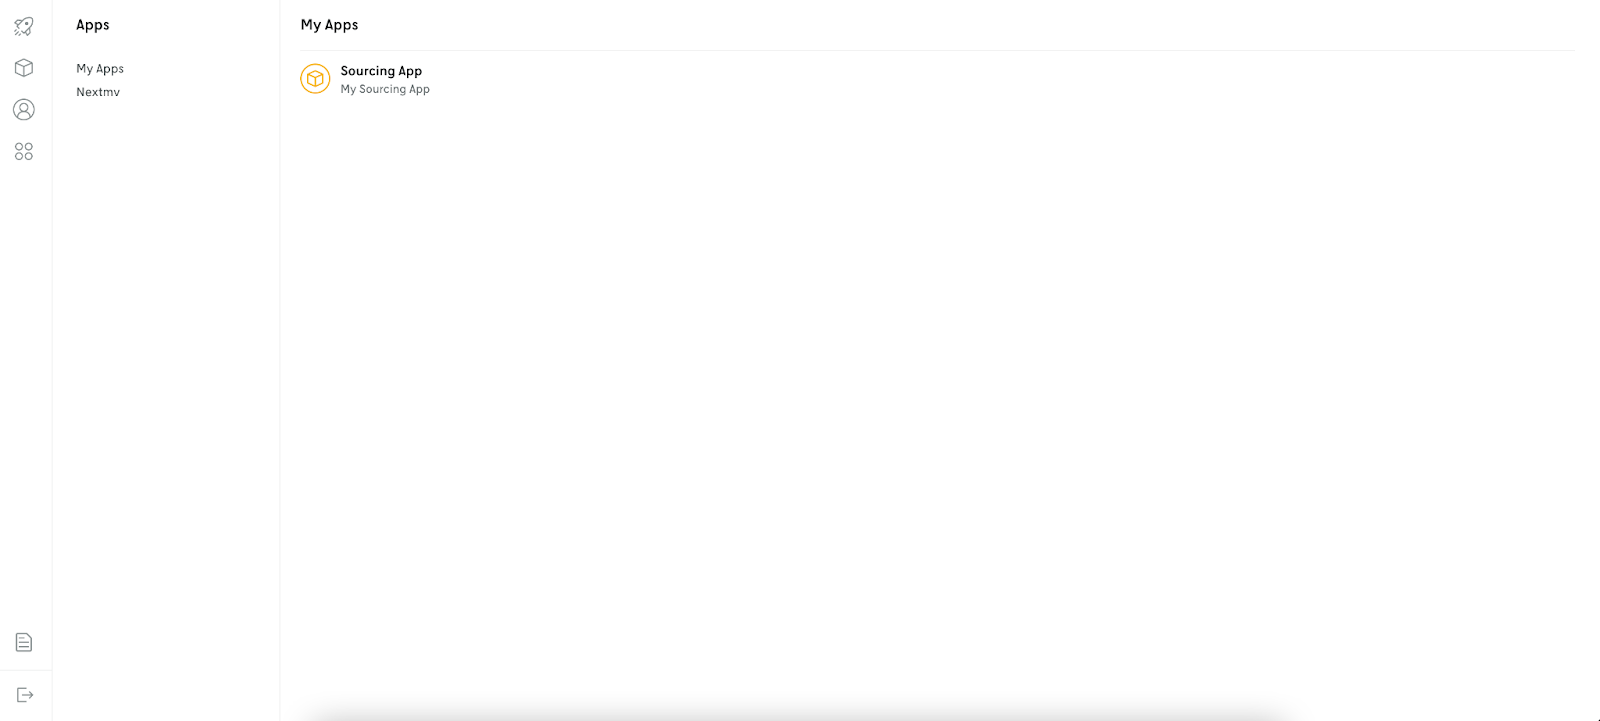
Now let’s jump into the Nextmv console to compare the results of the two runs. I’ll open the console and go to “My Apps” in the left-hand navigation. Here we can see our decision app.
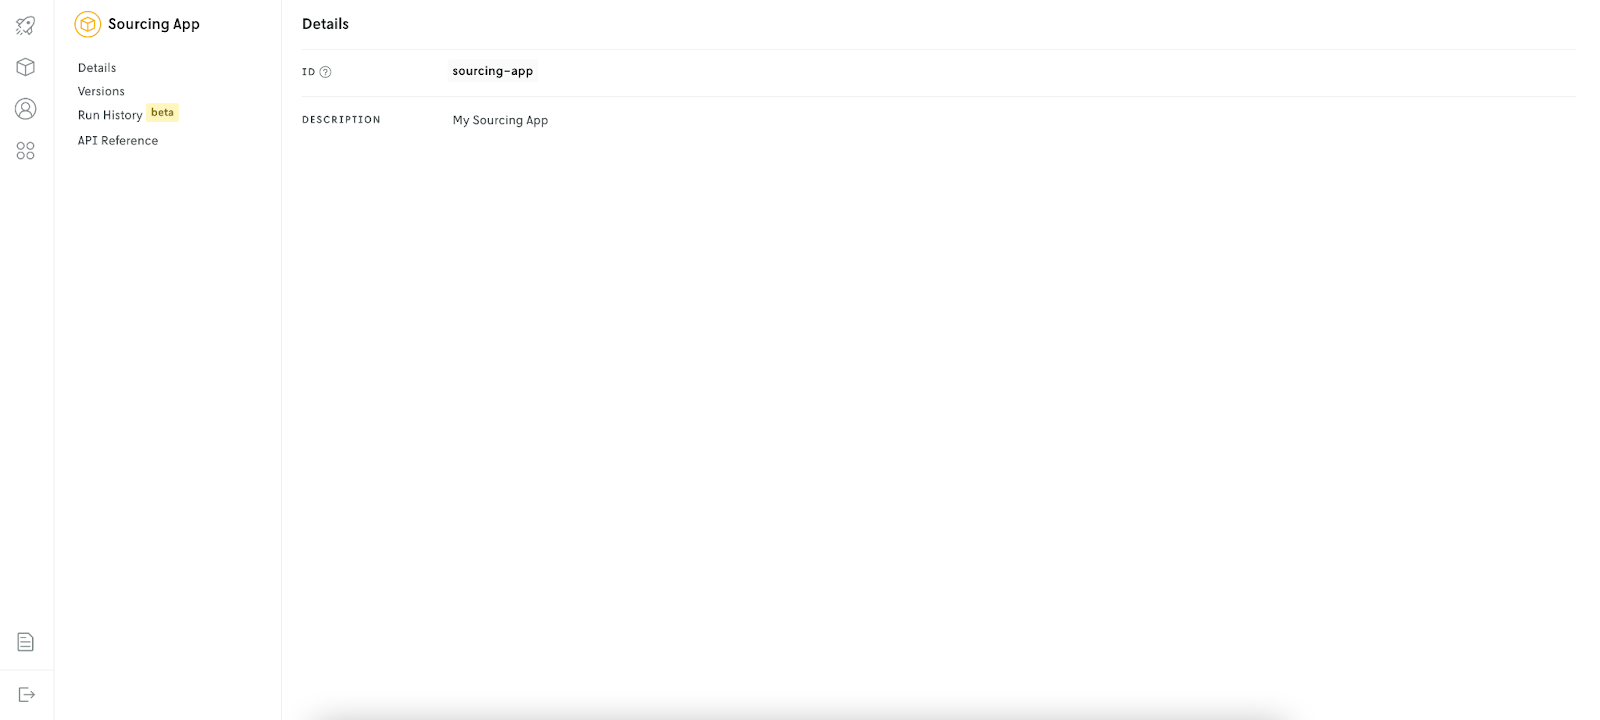
Next, we’ll click into the app. Now we have the options to view app details, versions, run history, and an API reference.
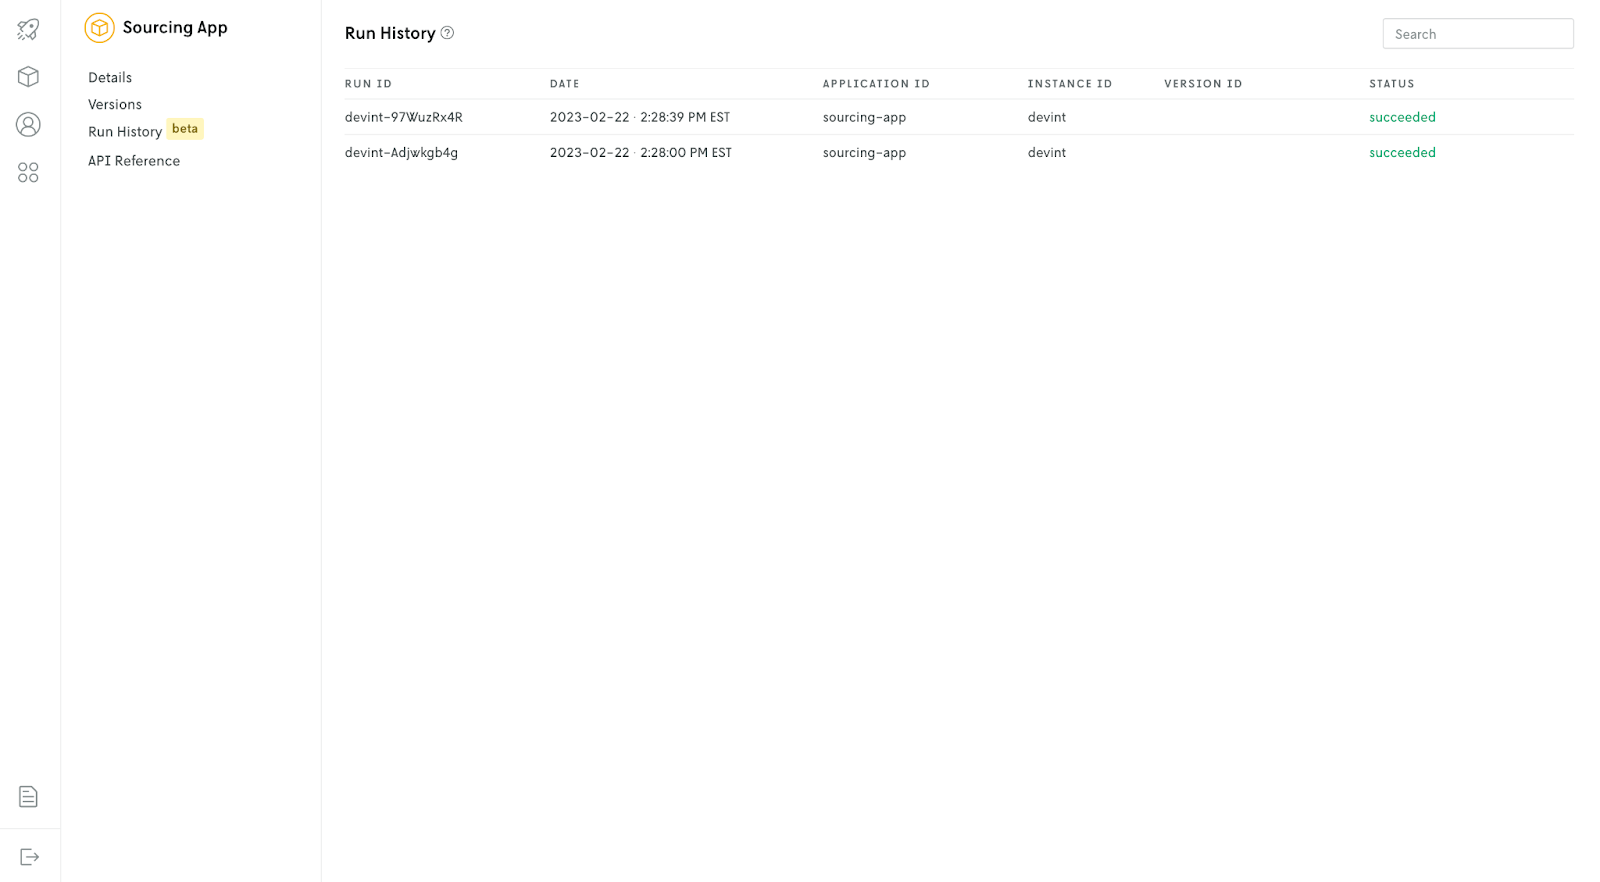
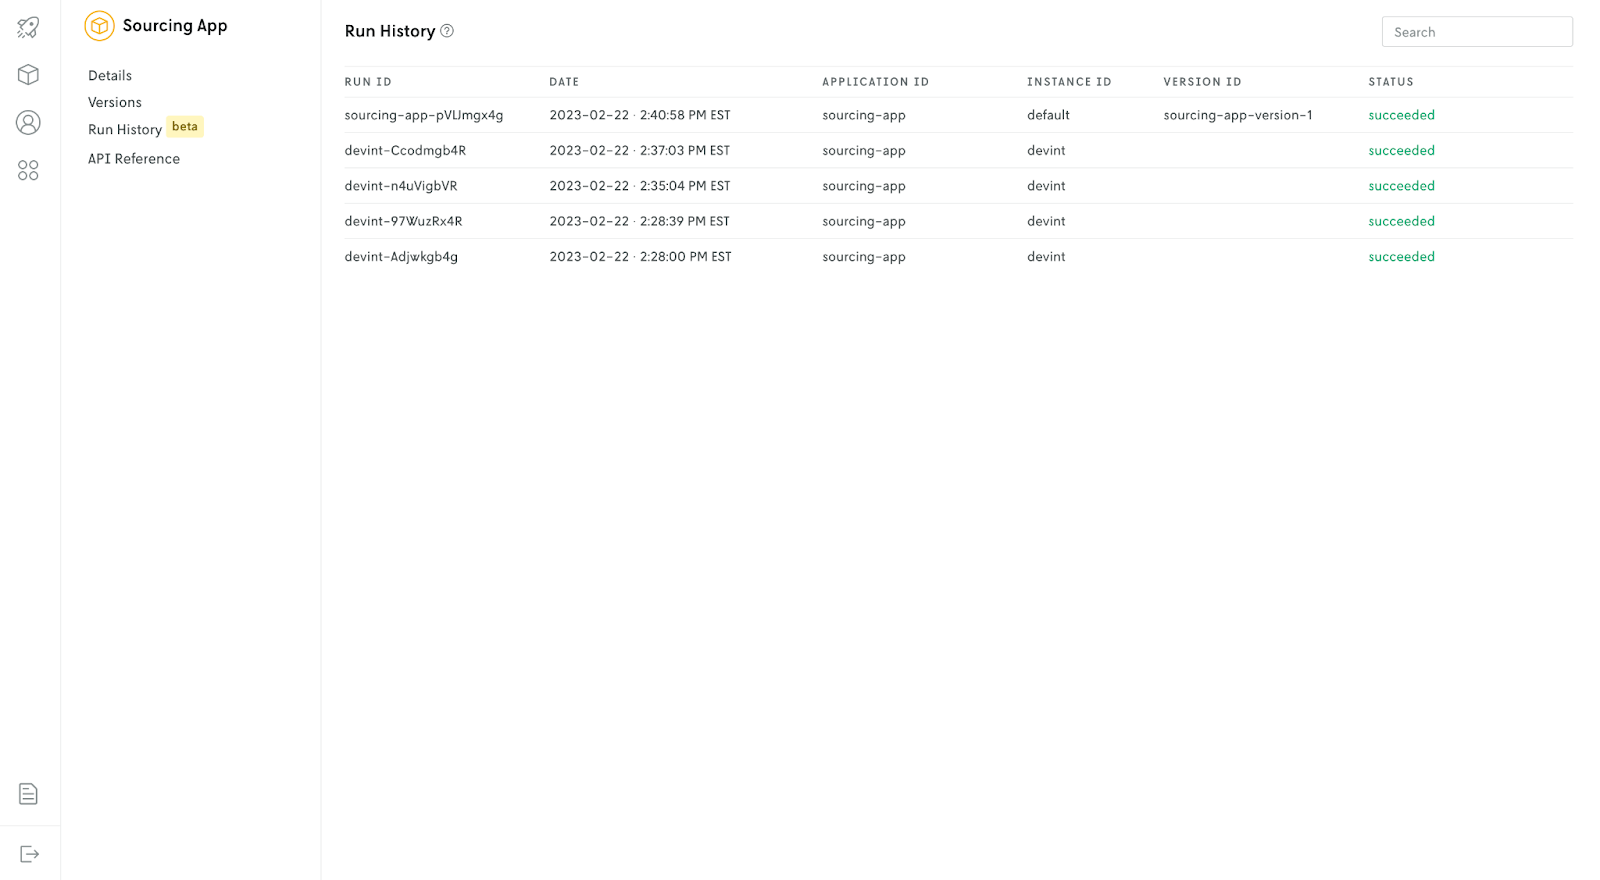
We’ll open Run History to see the two runs I just performed. This view provides high-level data about each run including run ID, date, application ID, instance ID, version ID, and the status. We can see that the runs were successful using the devint instance ID (which designates the latest binary). Since we’re still in development and haven’t promoted the application yet, version ID is blank.
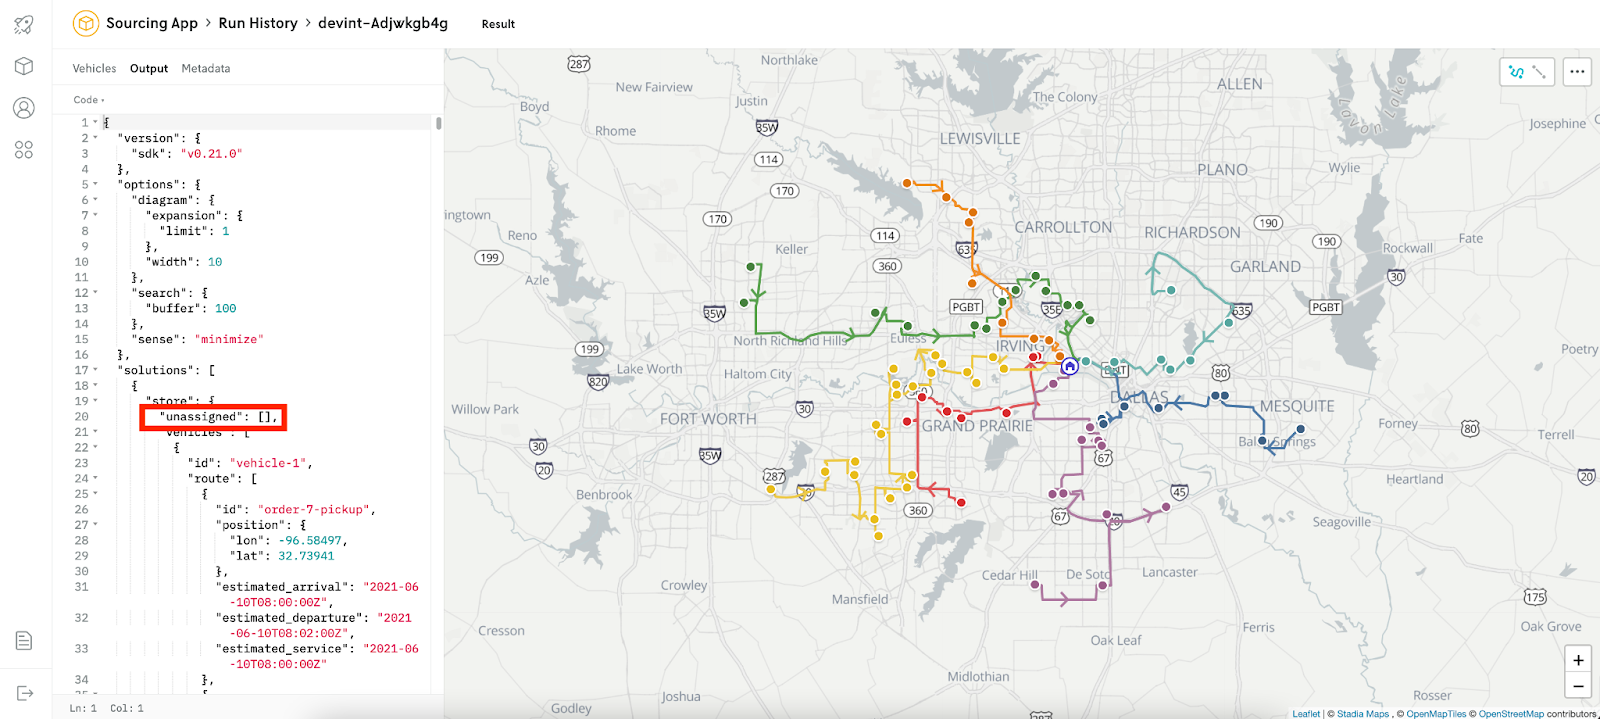
Now we’ll click into the run details for the first run (with no distance limit). We see we’re using 7 vehicles to service the routes highlighted below.
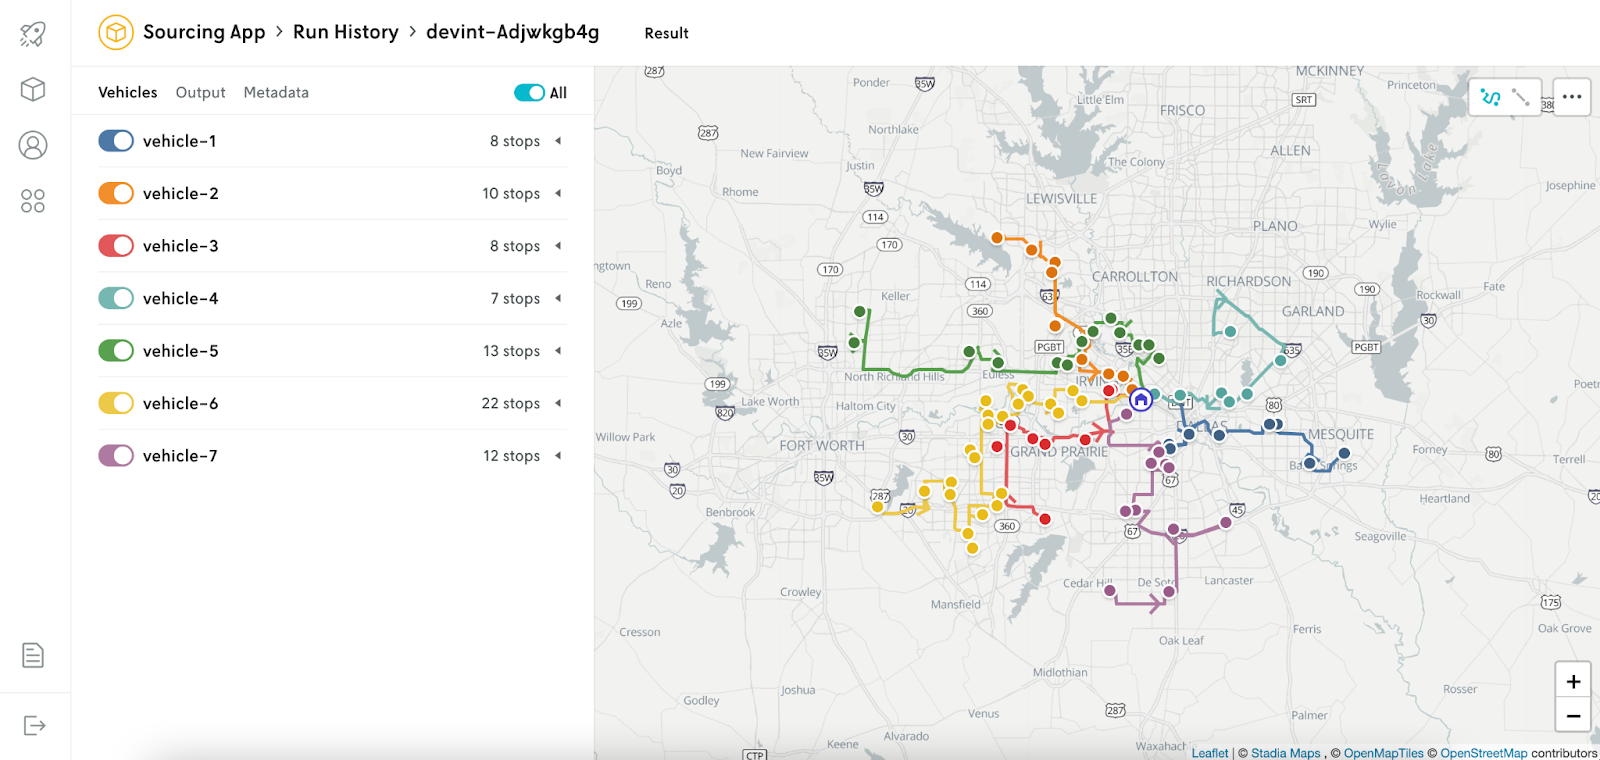
In addition to the map, run details include the output JSON and solution metadata. Here we can see that there are no unassigned stops.
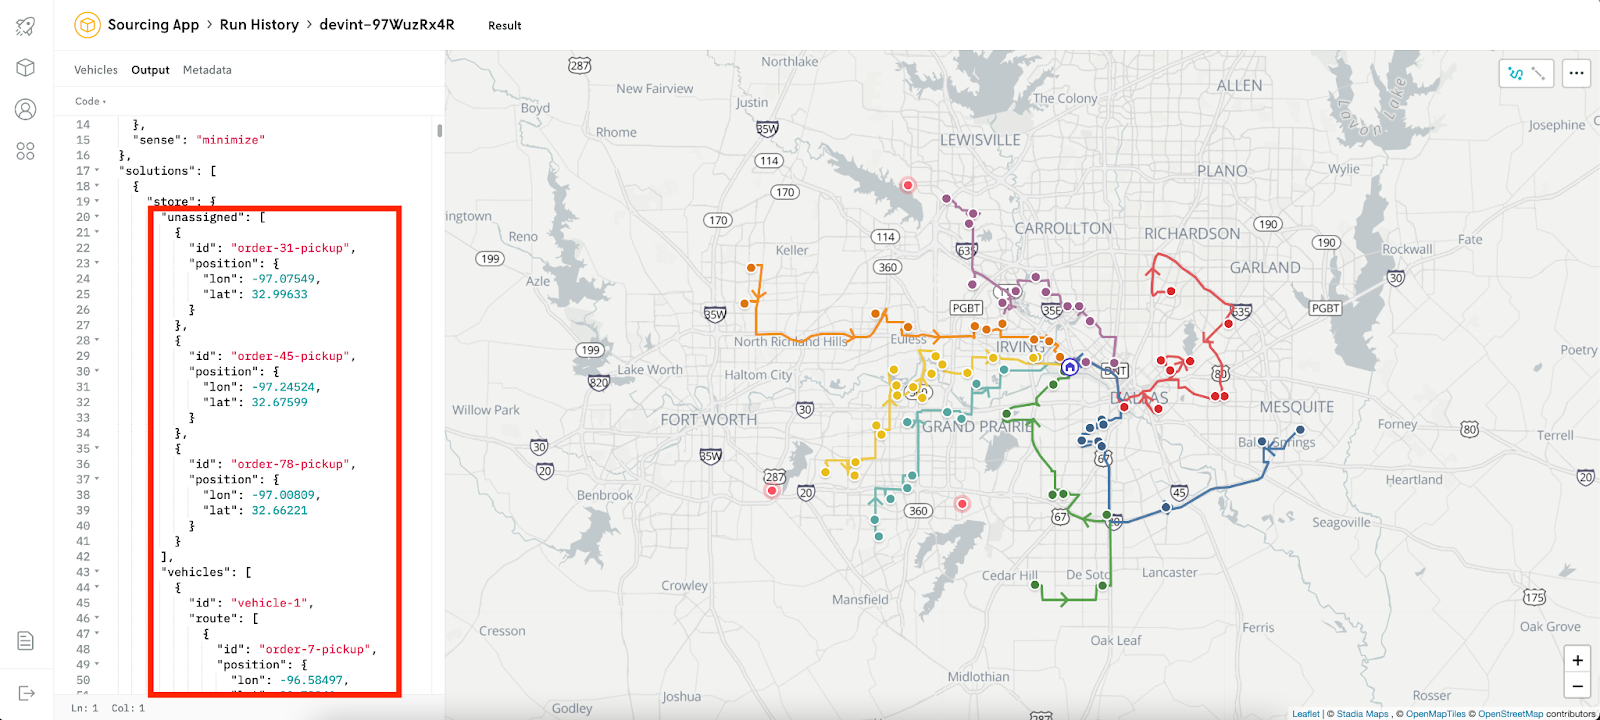
Now let’s click into the run detail for the second run (with distance limits enforced). The output shows that we now have three unassigned stops, which are also denoted as bright dots on the map that aren’t along any routes.
The team dives in – adjusting the maximum distance to see how it impacts the number of unassigned stops. We’ve increased the limit and now want to compare results again. We’ll run the app again with the new input file. After clicking on it in Run History, we can see that the latest run with updated max distance produces a solution with no unassigned stops. Success!

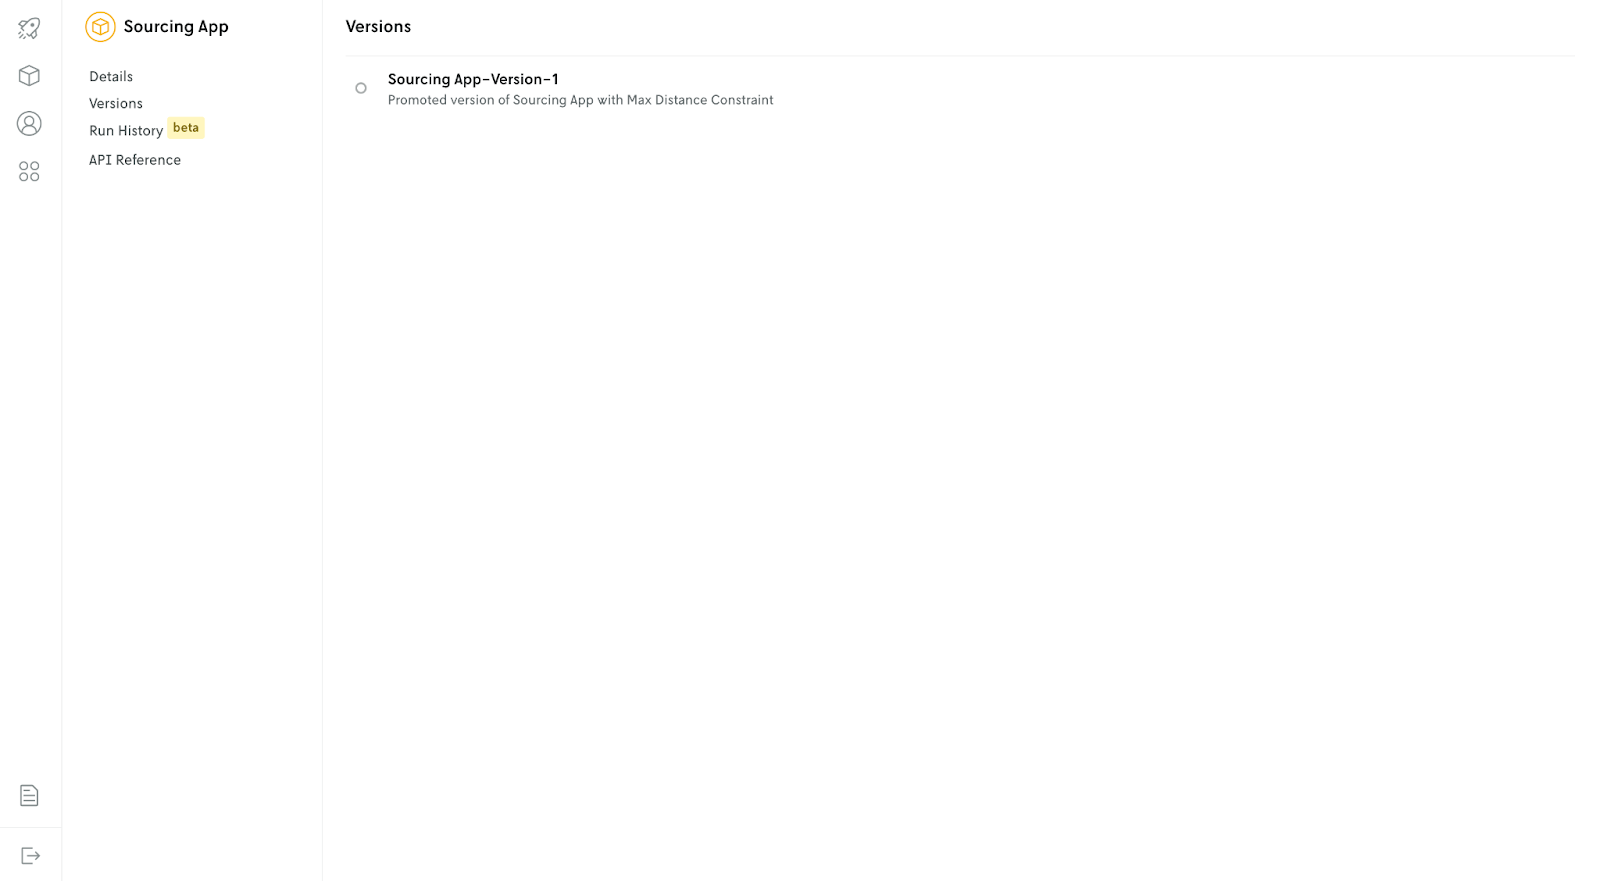
Since we have a model that meets our requirements, we can promote the app. After running that command, we can see that ‘Sourcing App’ now has a version listed.
Now let’s run the latest file with our promoted version. If we go back to our run history, the version ID is now populated.
We’ll wrap up our example here, but our next steps would be to share the details of the promoted version with stakeholders and get approvals before moving forward with it in all of our regions. As part of this process, we may want to test the performance of our new model against the current one using data from several previous runs. Historical testing and more is coming soon so stay tuned!
Get started with Nextmv
Try Nextmv for free and create a custom decision app in minutes.
Learn more about testing and benchmarking in our techtalk and contact us with your questions and feedback anytime.


